This topic will show how to setup and manage subdomains via the WCP control panel. You can view the step by step guide below:
Subdomains
-
Login to your WCP control panel.
Note: You can view our topic on logging into WCP if you need help with this step.
-
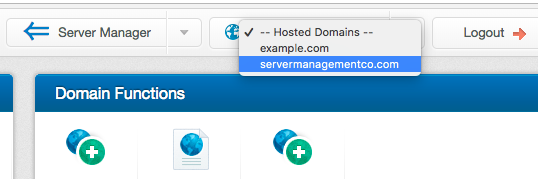
Once logged in if you are not already on the domain in questions control panel page then click on the ‘Hosted Domains’ drop-down from the top of the pages navigation bar. Then select your desired domain you wish to create a subdomain for.
-
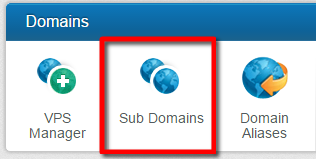
In the control panel you’ll see the ‘Domains’ section. Within this section find and click the ‘Sub Domains’ icon.
-
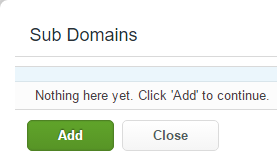
If you have any existing subdomains for the site they will show up here. Click the ‘Add’ button to add a new subdomain.
-
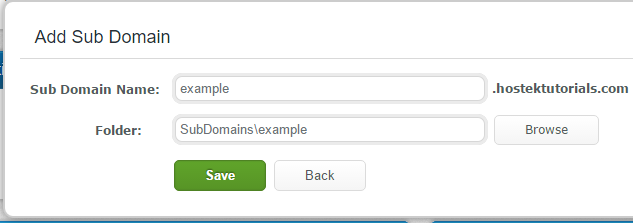
In the ‘Sub Domain Name’ field enter the name of the subdomain that you wish to create. In the ‘Folder’ field enter the desired path you want this subdomain to pull it’s files from.
Note: You can also click the ‘Browse’ button next to the ‘Folder’ field and choose an existing directory.
-
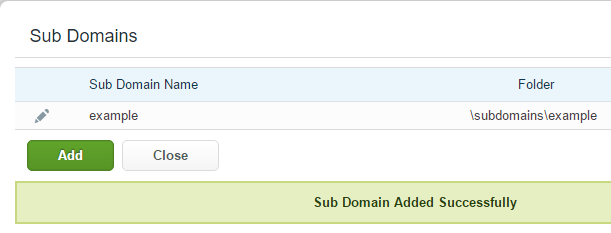
The subdomain should now successfully be added and you should see it listed in your list of existing subdomains.
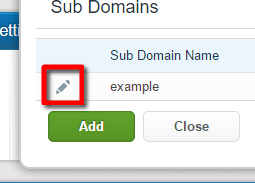
Update Subdomain to New Folder
If you ever need to update the subdomain to a new folder you can click on the pencil icon to the left of the subdomain as shown in the screenshot below:
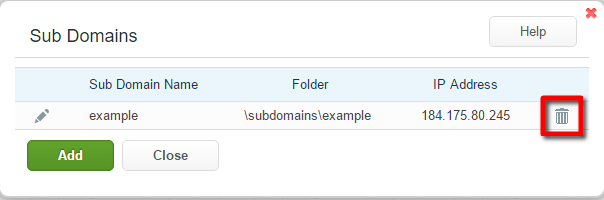
Delete Subdomain
-
If you ever need to delete a subdomain you can click on the trash can icon to the right of the subdomain as shown in the screenshot below:
-
Once you choose the delete option you’ll be prompted to confirm the deletion as shown in the screenshot below:
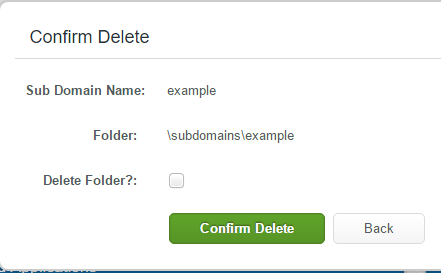
Note: When deleting the sub-folder you will be asked if you wish to remove the folder the subdomain was pointing to (unless it was pointing to the web root for the mains site) so make sure to check the appropriate option.