The ‘Application Extensions’ function allows for file extensions to be enabled or disabled at the server level.
Application Extension Manager
-
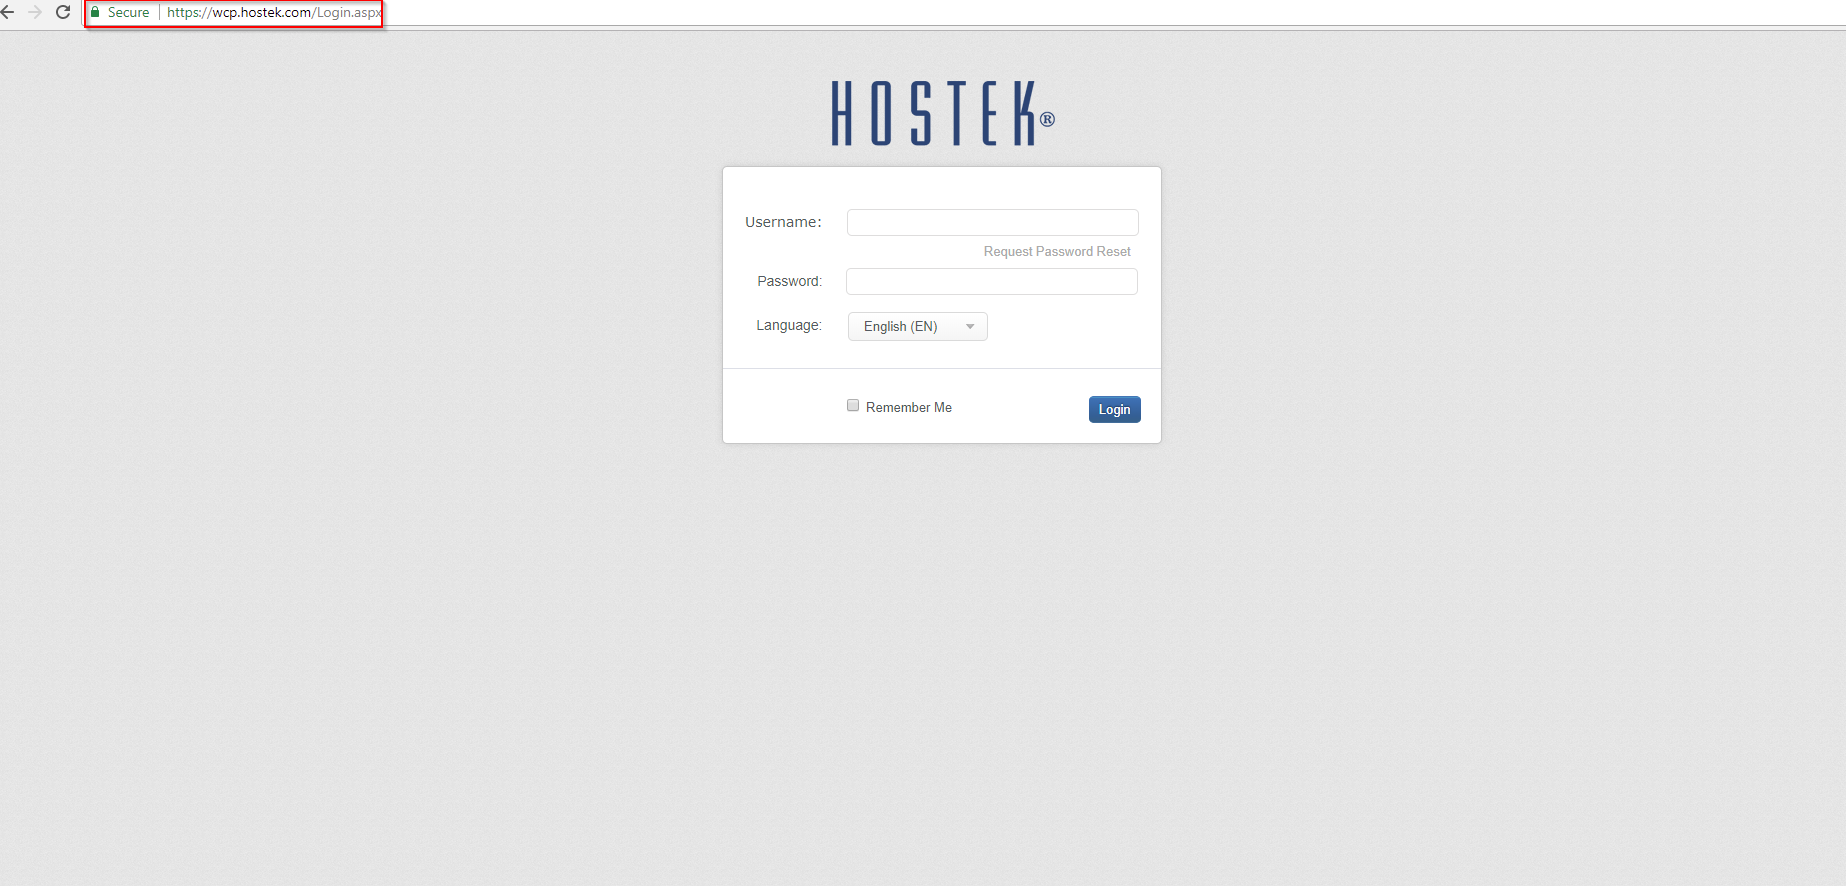
Login to your WCP Control Panel
Note: You can view our topic on logging into WCP if you need help with this step.
-
You will then be brought to the Server Manager screen. Click on ‘Application Extensions’.
Note: If you are logged in but not on this Server Manage page then click the drop-down on the top-right of the page and choose ‘Server Manager’.
-
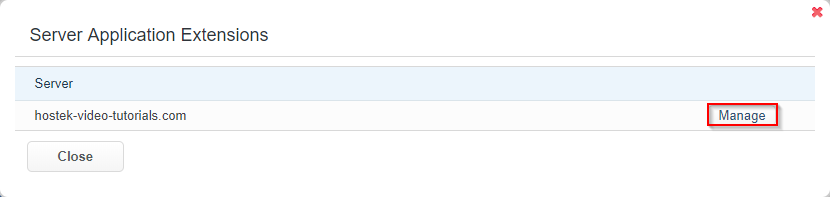
You will be presented with a list of VPS’s that are currently associated with your account. Click ‘Manage’ next to the server you would like to enable or disable an extension for.

Adding an Application Extension
-
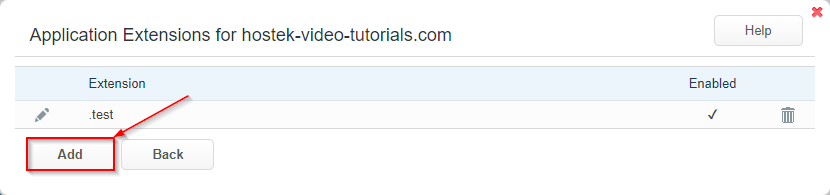
Once you have selected the server that you would like to manage extensions for. Click the ‘Add’ button.
-
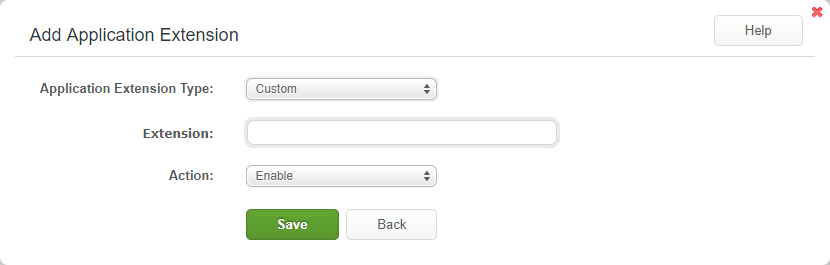
You will now be located at the Add Application Extension settings window. The Application Extension Type dropdown has 5 presets (as follows):
- Custom - Define the extension you would like to enable or disable.
- PHP - .php extension to be enabled or disabled (enabled by default)
- Coldfusion/Lucee - .cfm extension to be enabled or disabled (enabled by default on Coldfusion VPS’s)
-
ASP.NET- .aspx extension to be enabled or disabled (enabled by default) - Classic ASP - .asp extension to be enabled or disabled (enabled by default)
-
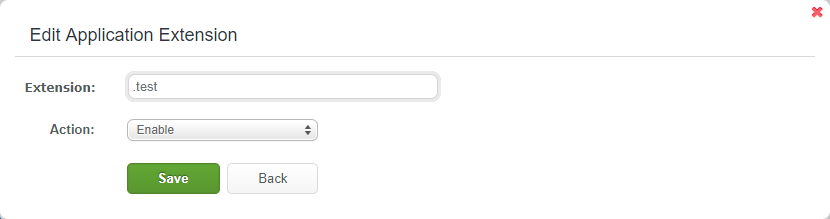
Once the extension is entered into the extension field Select the action state (enabled or disabled).
-
Finally click ‘Save’.
Editing an Existing Application Extension
-
Once you have selected the server that you would like to manage extensions for. Click the Pencil (
 ) for the extension you would like to edit.
-
Select whether it will be Enabled or Disabled.
-
Click Save.