Datasources describe a connection to a datasource (i.e. databases).
Datasources
-
Login to your WCP control panel.
Note: You can view our topic on logging into WCP if you need help with this step.
-
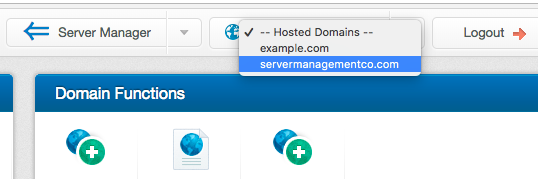
Once logged in if you are not already on the domain in questions control panel page then click on the ‘Hosted Domains’ drop-down from the top of the pages navigation bar. Then select the desired domain from the drop-down.
-
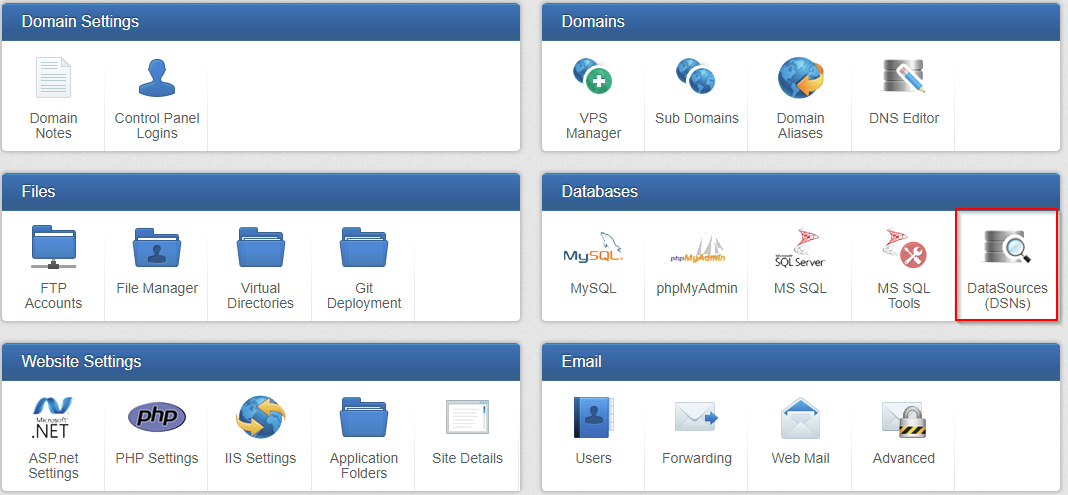
Click on the DataSources (DSNs) icon.
Add DSN
-
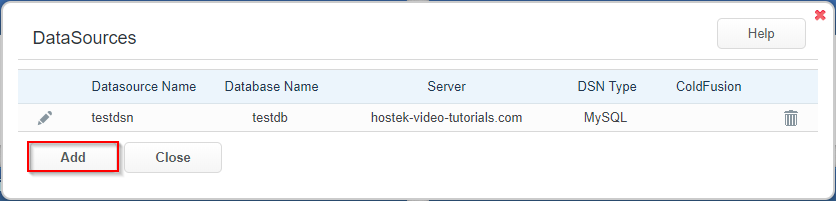
Once you are located within the DataSources box, click the Add button to begin adding a new Datasource.
-
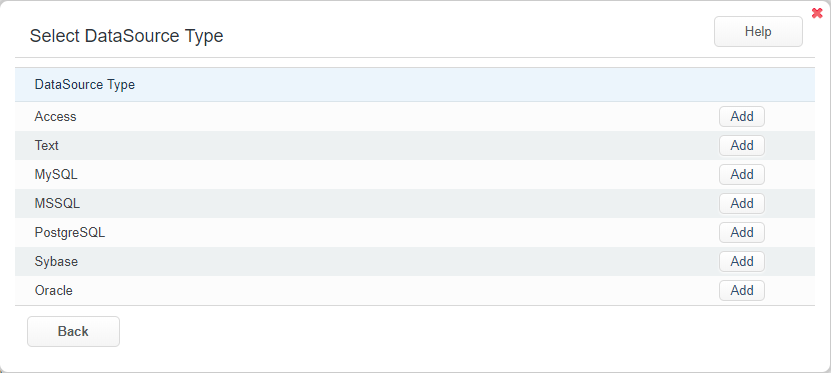
Select the type of datasource you will be adding from the list of types presented.
-
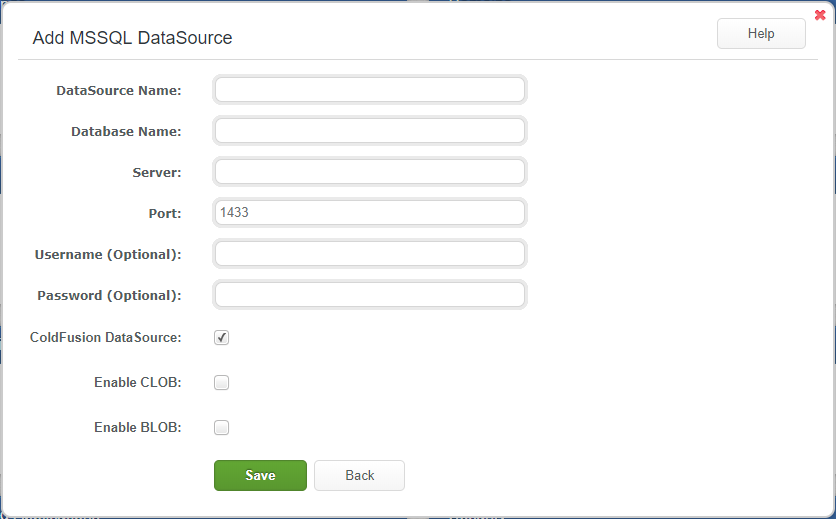
Once you have selected the type, you will be directed to a new box. In this form enter the connection details for this datasource. This will vary between datasource types. For this example, we will be using an MSSQL database type.
-
Once you have filled out the form click the Save button. If successful you will be directed back to the DSN list and a green bar will indicate that the Datasource Added Successfully.

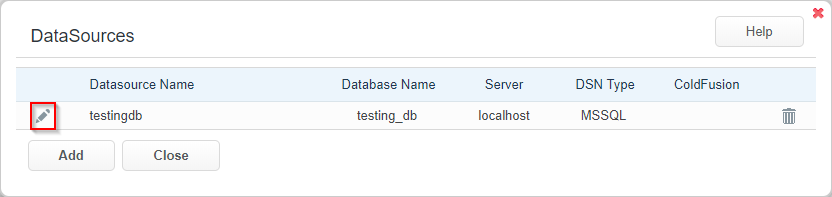
Edit an Existing DSN
-
Once you are located within the Datasources box, click the Pencil (
 ) icon next to the datasource you would like to edit.
-
You will be directed to the configuration window for the selected DSN. You will not be able to edit the name, however, most other settings can be modified.
-
Once you have finished modifying the datasource click the Save button. If the DSN was edited successfully you will be redirected back to the DSN list and a green banner will let you know that the Datasource Updated Successfully.


Deleting a DSN
To delete a DSN you will just need to click the Trashcan ( ) icon next to the DSN you would like to delete. A confirmation window will open, asking to confirm deletion of the DSN. Click Ok to proceed.
