The ‘Default Site Template’ function allows you upload and specify what files will be loaded by default into a domain’s directory upon creation per VPS.
Default Site Template
-
Login to your WCP Control Panel
Note: You can view our topic on logging into WCP if you need help with this step.
-
You will then be brought to the Server Manager screen. Click on ‘Default Site Template’.
Note: If you are logged in but not on this Server Manage page then click the drop-down on the top-right of the page and choose ‘Server Manager’.
-
After clicking on the ‘Default Site Template’ icon you will be presented with a list of your current VPS’s. Click the Pencil icon (:pencil-edit:) next to the server you would like to set the Default Site Template.


-
You will now be located at the Default Template screen. You will be able to upload either a single file, or a zipped archive of multiple files/directories. You can also click on the ‘Trash Can’ (
 ) icon to remove files from the template.
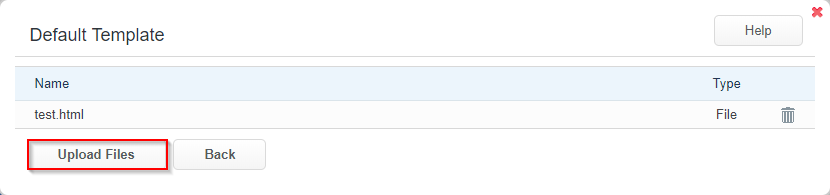
The Default Site Template will place the uploaded file/files in the file structure of new domains created on this VPS.