Set Offline
There are times when you are migrating, updating, or debugging your site where having the site set to an “Offline” mode can be a useful way to inform your site visitors that there is some maintenance being performed on the site.
To modify these settings, please follow the steps below:
-
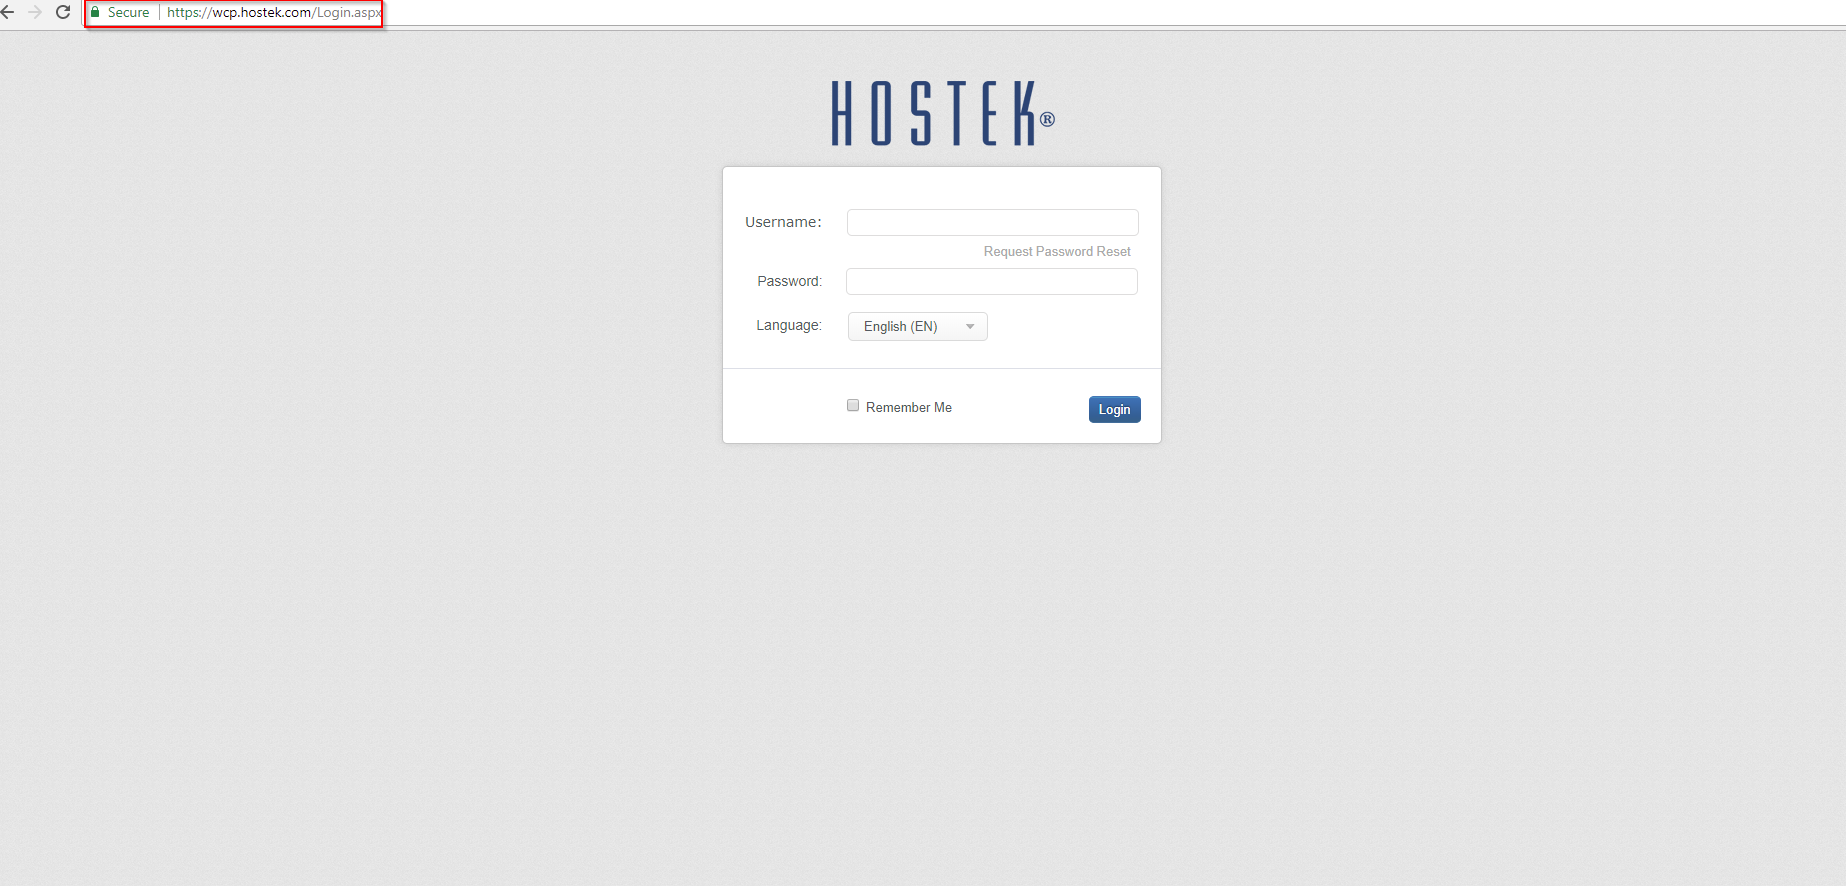
Login to your WCP Control Panel
Note: You can view our topic on logging into WCP if you need help with this step.
-
Next, select the appropriate domain name from the “Hosted Domains” drop-down menu.
-
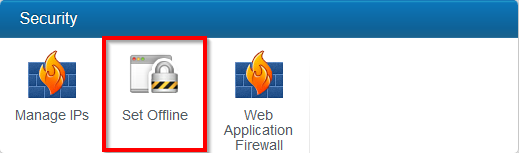
Once WCP has loaded the desired domain, navigate to the “Security” category and select the “Set Offline” button
-
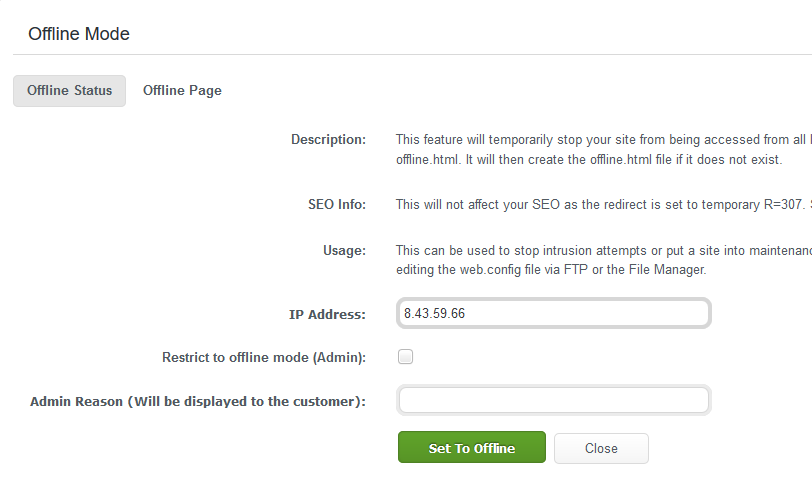
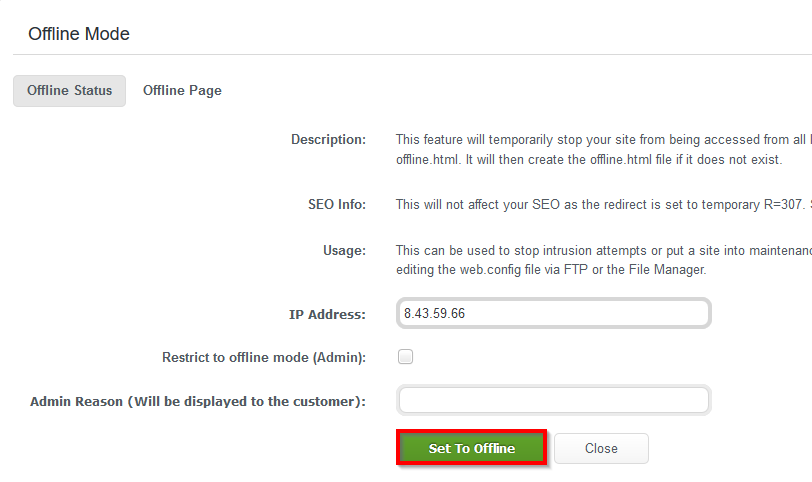
Within the “Offline Mode” dialog box, you are presented with two tabs:

-
Offline Status - Determines in what “state” the site is in.
-
Offline Page - Determines what page to point the site too.
-
Under the Offline Status options You are presented with a few definitions and a field to enter your IP address (Please feel free to use hostek.com to locate your public facing IP address.)
-
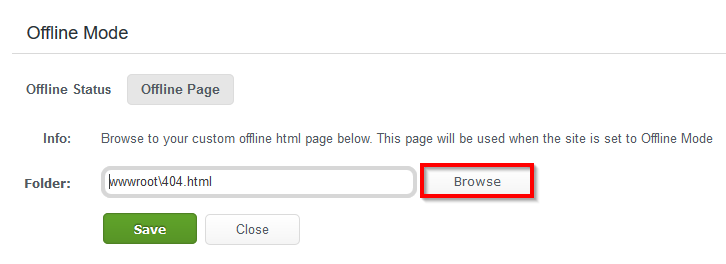
Switching to the Offline Page tab, you will see that there is a field for you to enter a file to present to the site visitors that are attempting to access your site. This file can be generic or customized depending on your needs. If you already have a file that you use for maintenance you can use the “Browse” button to select it
-
When you have sufficiently completed steps 5 and 6, and you are now ready to activate these settings, select the green “Set to Offline” button to implement the changes.
Note: If successful, you will be presented with a green success notification.

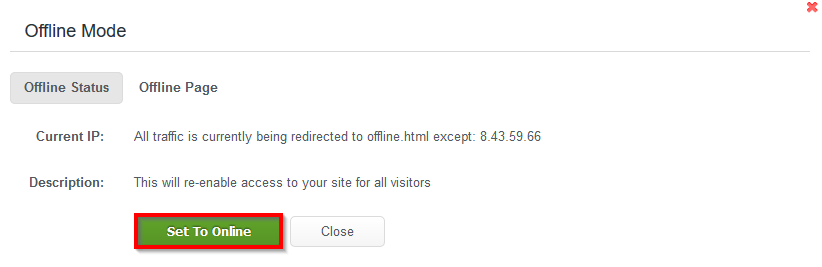
When you have completed your maintenance, you can set the site back to an online mode by navigating back to the “Set Offline” utility and selecting the “Set To Online” button.
That concludes this tutorial on how to use the “Set Offline” utility in the WCP control Panel for your site maintenance needs.