When investigating issues with your e-mail you may have someone ask for the full headers of the email in question that you’re having issues with. In this article, we will explain what email headers are and how to obtain these in a few different applications.
Firstly, each email consist of three separate components: envelope, body, & the headers
All e-mails are sent using a protocol called SMTP (Simple Mail Transfer Protocol). In SMTP, email is sent in packets called envelopes. The first packet sent is the envelope from address, which is followed by one or more envelope recipient addresses. Next, the actual message is sent (including the headers and body together).
Please Note: The final recipient sees only the headers and body. The envelope information is only used to communicate between e-mail servers in order to send to the proper destination.
Now, when a user replies to an e-mail message, the reply is automatically going to be sent to the header sender (the address listed in the header as the From Address). If the message were to bounce, instead of reaching the recipient address, then the bounce reply is generally sent to the envelope sender address.
The headers contain all of the important details about the e-mail, including the following standard fields:
| Field Name | Field Value |
|---|---|
| From: | The address the e-mail is coming from. |
| To: | The intended recipient(s) where the e-mail is being delivered to. |
| Date: | The time the message was sent. |
| Received: | The time the message was received by the server (may have several received fields if the message was relayed between more than a single server). |
| Reply-To: | The address that the recipient will auto-reply to if they decide to reply to the e-mail. |
After the message envelope discussed above, the headers and body are sent in the next packet to the mail server in order to relay the message to the intended recipient. The headers, as shown in the table above, consist of all the important information about the e-mail. Each mail server that the e-mail passes through has the ability to add unique fields and values to the headers and when doing so these are added to the top of the header. This is why it is important to read headers starting from the bottom and working your way up, so that you are reading them from the order of which they were added.
By reading the header information, sometimes you can easily gauge as to whether the e-mail is failing any particular spam check that a mail server performed. This is dependent on the mail server actually logging the necessary information within the e-mail headers, as this will not always be the case and you might have to check with the recipient mail server to have them check their logs for additional information. Some of the common cases you will find in an e-mail header is whether the e-mail successfully passed SPF, DKIM, and DMARC spam policies. Another case might be if the e-mail was sent from any IP Addresses that appear to be in a private or public blacklist. The list goes on and due to mail servers having the capability for custom e-mail filters the possibilities are endless.
The body is the part of the email that is always seen, as it is the actual message content that you see within your email client once the message has been received. In other words, this is the text content that the sender wanted the recipient to receive. This part of the email isn’t relevant to this guide.
To better understand what an e-mail header sees the image below of a common e-mail header:

From the example e-mail above we are able to see the original server (mail12.ezhostingserver.com) that sent the e-mail on the behalf of the sender (tutorials@hostektutorials.com). We are also able to see that the SPF record for the sending domain either does not exist or is not configured correctly to let the sending server send mail on the domains behalf. Some e-mail servers will penalize for this, so that is great information to see from the header.
Obtaining Headers from GMail
Click to expand/collapse steps.
-
Login to the @gmail.com address that is receiving this message.
-
Open the e-mail in question that you need to obtain the e-mail headers from.
-
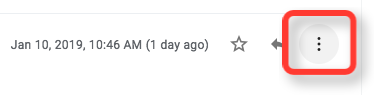
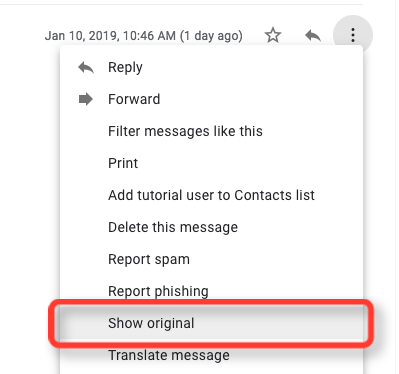
Click on the ‘more’ button icon, which looks like three dots (image below for example.)
-
In the drop-down that appears, click on the option for ’Show Original’.
-
You should now be able to see the entire message header. You can copy the entire message if desired into your clipboard. Instead, we recommend that you click the ’Download Original’ button which will download a file named original_msg.txt to your downloads folder.
Obtaining Headers from SmarterMail 4.x - 15.x
Click to expand/collapse steps.
-
Login to the SmarterMail interface for the address that is receiving this message.
-
In the Inbox for this e-mail, user click to open the e-mail in question.
-
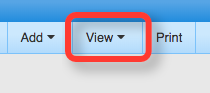
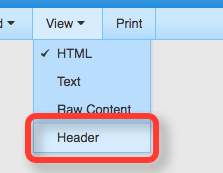
When viewing this e-mail click on the ’View’ drop-down button.
-
In the drop-down choose the option for ’Header’. Now, instead of the normal content (body) of the e-mail, you should only see the entire header within the message dialog.
-
You can then copy the entire header shown in the message dialog box.
Obtaining Headers from SmarterMail 16.x - 17.x
Click to expand/collapse steps.
-
Login to the SmarterMail interface for the address that is receiving this message.
-
In the Inbox for this e-mail, user click to open the e-mail in question.
-
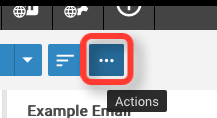
When viewing this e-mail click on the ’Actions’ button (example in screenshot below).
-
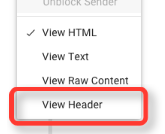
In the drop-down choose the option for ’View Header’.
-
You can then copy the entire header shown in the message dialog box.
Obtaining Headers from ThunderBird
Click to expand/collapse steps.
-
Login to your ThunderBird email application.
-
Open the e-mail in question that you need to obtain the e-mail headers from.
-
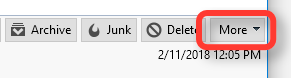
Click the ’More’ button, as shown in the screenshot below:
-
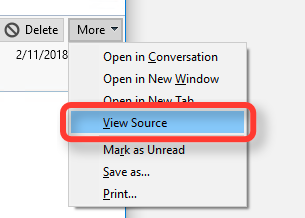
In the drop-down that follows, click on the option for ’View Source’.
-
You can then copy the entire header shown in the message dialog box.
Obtaining Headers from Outlook 2007, 2010, 2013, & 2016
Click to expand/collapse steps.
-
Log in to your Outlook email application.
-
Open the e-mail in question that you need to obtain the e-mail headers from.
-
Double click on the email message so that it is opened in its own window.
-
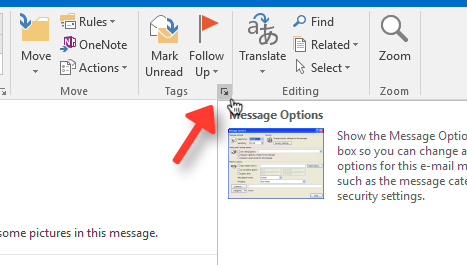
Now click on the ’Message Options’ button, which is located on the Message tab within the Options section. The button icon looks like a little arrow to expand, as shown in the screenshot below:
-
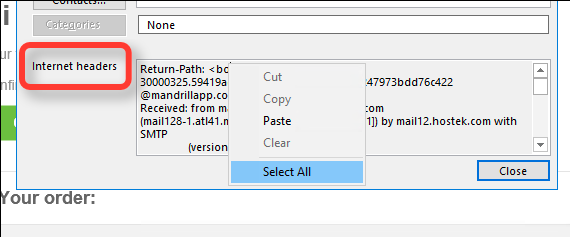
The Message Options window should now appear. At the bottom of this new window is the Internet Headers section. You can right click in this field and choose ‘Select All’, then right click again and choose ‘Copy’ in order to copy all of the headers.
Obtaining Headers from MacMail
Click to expand/collapse steps.
-
Login to your MacMail email application.
-
Open the e-mail in question that you need to obtain the e-mail headers from.
-
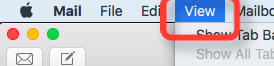
With the e-mail in question open, click on the ’View’ option from the Application Menu.
-
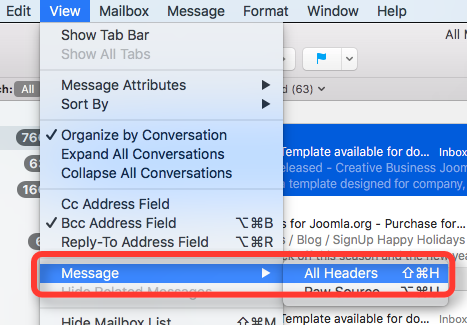
In the drop-down that follows, hover over Message and choose ’All Headers’.
-
The content of the e-mail should now change to viewing the entire message header rather than just the body (content) of the e-mail. You can copy all of the header’s source.
Please Note: Clicking on any other e-mails in the inbox reverts back to normal content view instead of viewing the headers.