WordPress default mail functionality (without SMTP plugin)
WordPress by default (without any SMTP plugins) sends email via the php mail() extension, which will attempt to send via the default SMTP service setup on the local server.
If no default SMTP service is setup on the server, then email sent via WordPress would fail as there would be nothing listening on the server to send mail on the websites behalf.
In most cases a default SMTP service is setup. However, it is not recommended to send from this service in most cases.
Why should you use an SMTP plugin?
Even if your server has a default SMTP service setup, then we recommend setting your website to authenticate with your domains actual mail server. The reason? We’ll provide a few below:
-
Some default SMTP services (such as IIS on a windows server) do not have very detailed logs. Your domains mail server most likely has robust logging to track down any issues.
-
If your website resides on a shared server, then your less likely to run into blacklist issues when sending email from an actual mail server than through the default mailout service.
-
You can also choose to send email through a third-party service (such as Gmail, MailGun, SendGrid, etc.).
Troubleshooting email issues via an actual mail server makes things much easier. You will also most likely find mail sent from an actual mail server is going to be far more reliable.
Installing WP SMTP Plugin
For WordPress, we recommend using the WP Mail SMTP by WPForms plugin. In the installations steps below we will walk you through the installation & configuration to get your mail working.
-
Login to your WordPress dashboard.
-
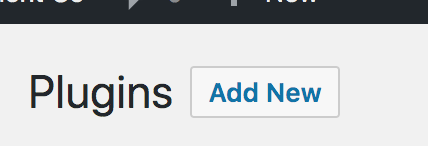
Within the dashboard click on Plugins on the left-side navigation.
-
Then click on the Add New button, as shown below.
-
In the top-right of the page, you will find a search field. Search for the term ‘SMTP’.
-
You will most likely find that the search results are in the hundreds. However, by default WordPress will show the top installed plugins which WP Mail SMTP by WPForms has over a million installations worldwide. Click on the button for Install next to this plugin.
Note: If you need to narrow the search you could enter ‘WP Mail SMTP by WPForms’.
-
The plugin should install within a couple of seconds. Once installed click on the button labeled Activate in order to enable the plugin for your website.
-
The next step would be to configure the plugin so that you can start sending from your desired mail server. See the sections below for configuring the plugin to use your desired mail server.


Configuration of plugin settings
Note: You can configure the WP Mail SMTP plugin to send from a specific from address and name if desired within the settings of this plugin. These values are separate from the actual server username that you authenticate through, so in most cases, the from email address needs to be the same as the user you are authenticating with.
Configuring for normal external SMTP (most used)
-
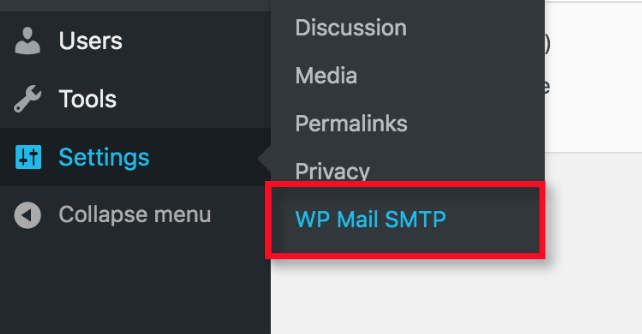
Now that the plugin is activated we need to adjust the settings so that mail can be sent from the desired mail server. Hover over Settings and click on the option for WP Mail SMTP.
-
Scroll down the page to the Mailer section. Click on the radio button next to the item labeled Other SMTP.
-
Scroll further down the page and fill out the form with the settings for your email user. The settings that you’ll use will depend on your mail server configuration. See our guide on obtaining the correct mail settings if needed.
You can see the settings that you would most likely use below:
SMTP Hostname: See our guide on obtaining your SMTP hostname on Windows and cPanel environments.
Encryption: If your SMTP hostname supports SSL, then enabling TLS/SSL would be recommended. If not, then choosing ‘none’ should work for sending emails for your website.
Auto TLS: Typically you can keep this enabled. If your server does not support SSL/TLS and you are not able to connect with the encryption set to ‘none’, then try disabling this feature as well.
Authentication: Enable authentication (turn on) and set the username and password to the correct username and password for your mail server credentials.

Other Configurations
This guide is set up to assist with SMTP authentication so that you can send email from your domains mail server. There are other options provided within the Mailer section, such as sending via GMail, Mailgun, or SendGrid.
There are occasions where sending via Gmail servers might be needed. For example, if you plan on sending emails from your website via an @gmail.com address, or possibly your websites normal email addresses via Google Suites (if you have your domain’s email hosted via Google). If using Google for sending email, then you’ll need to sign into Google and setup a new project and API credentials.
Some third-party services make use of MailGun or SendGrid for sending email, which your website would send CURL request via PHP in order to connect to their servers and send email. You would need to obtain an API key from these services and enter them in the configuration if you wish to use these services.
Note: Ocassionally, we see websites try to use Mailgun or SendGrid and run into CURL errors regarding SSL. This is typically resolved easily by following this guide on updating the CACert information for your websites PHP configuration.