The ‘Tickets’ function of the Hostek Hosting Dashboard allows you to manage, create, reply, view, and close Tickets opened with Hostek Support. The dashboard is responsive and mobile-friendly, allowing you to keep up with ticket statuses on the go.
Before beginning, you will need to ensure you are logged into your Hostek Dashboard (US) or Hostek Dashboard (UK). You can find instructions on how to do this in the following article Logging into to Dashboard.
Navigating to the Ticket's Page
Once you are logged into your ‘Dashboard’, click on the ‘Tickets’ link on the left side of the page.
This will bring you to the following screen.
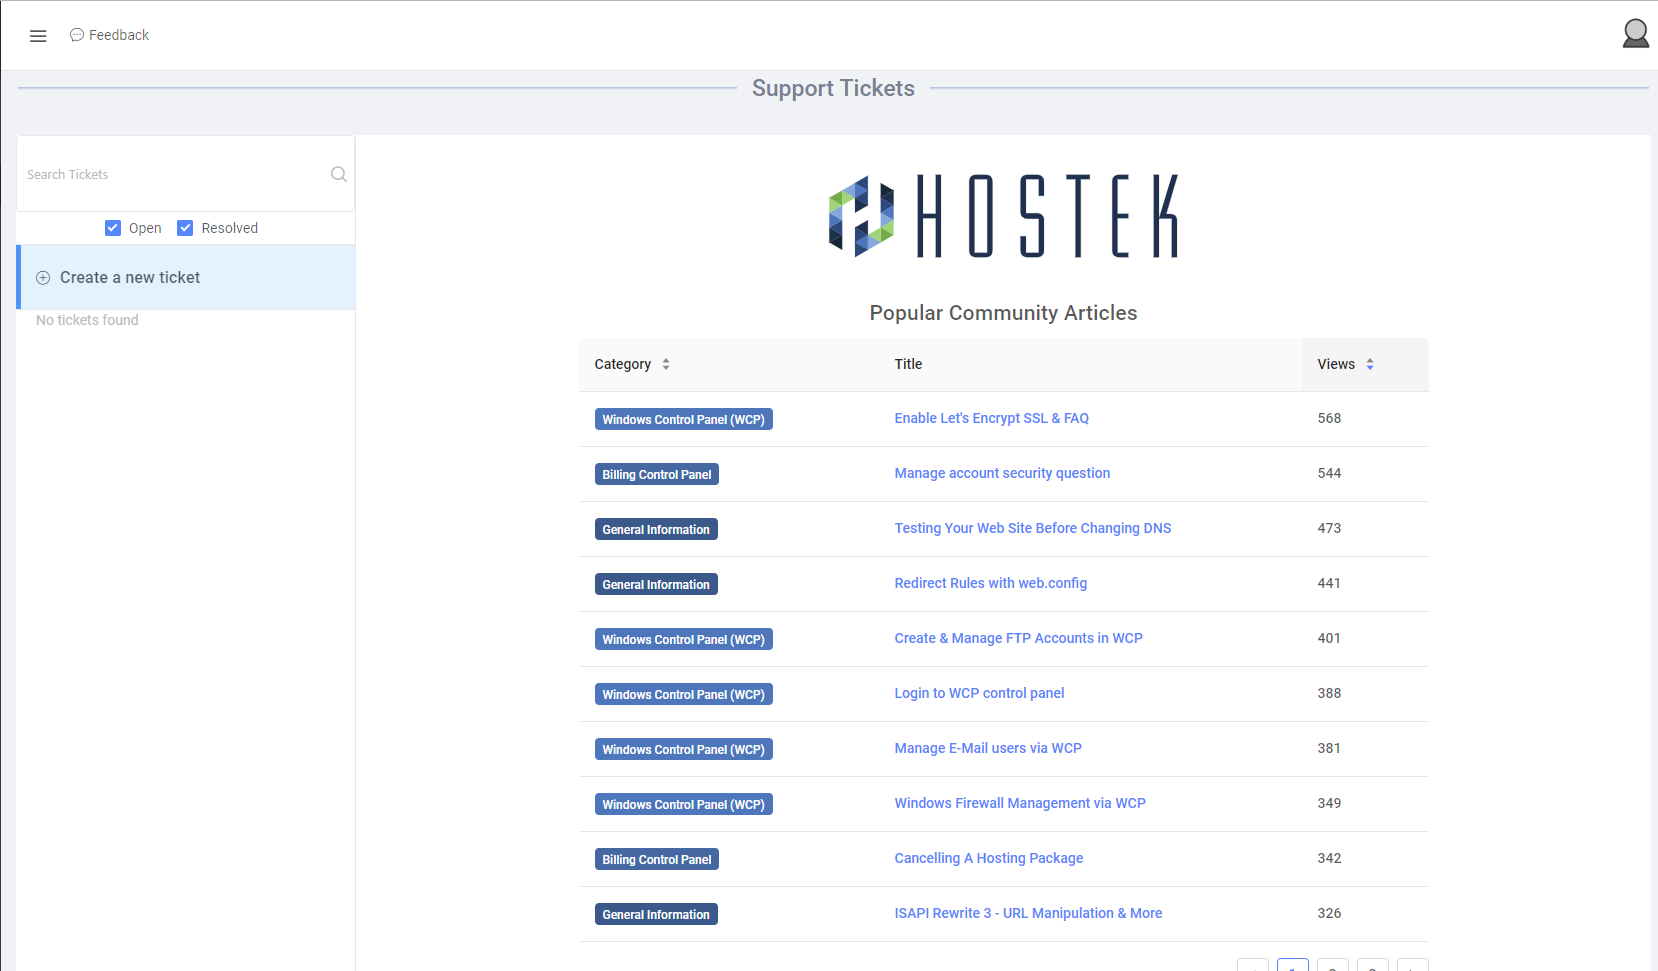
Please Note: You will notice on the right side of the screen a list of the most commonly visited documentation articles.*
Creating a Ticket
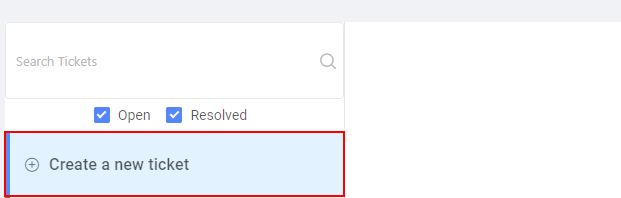
- From the ‘Tickets’ page click the ‘Create a new ticket’ link.
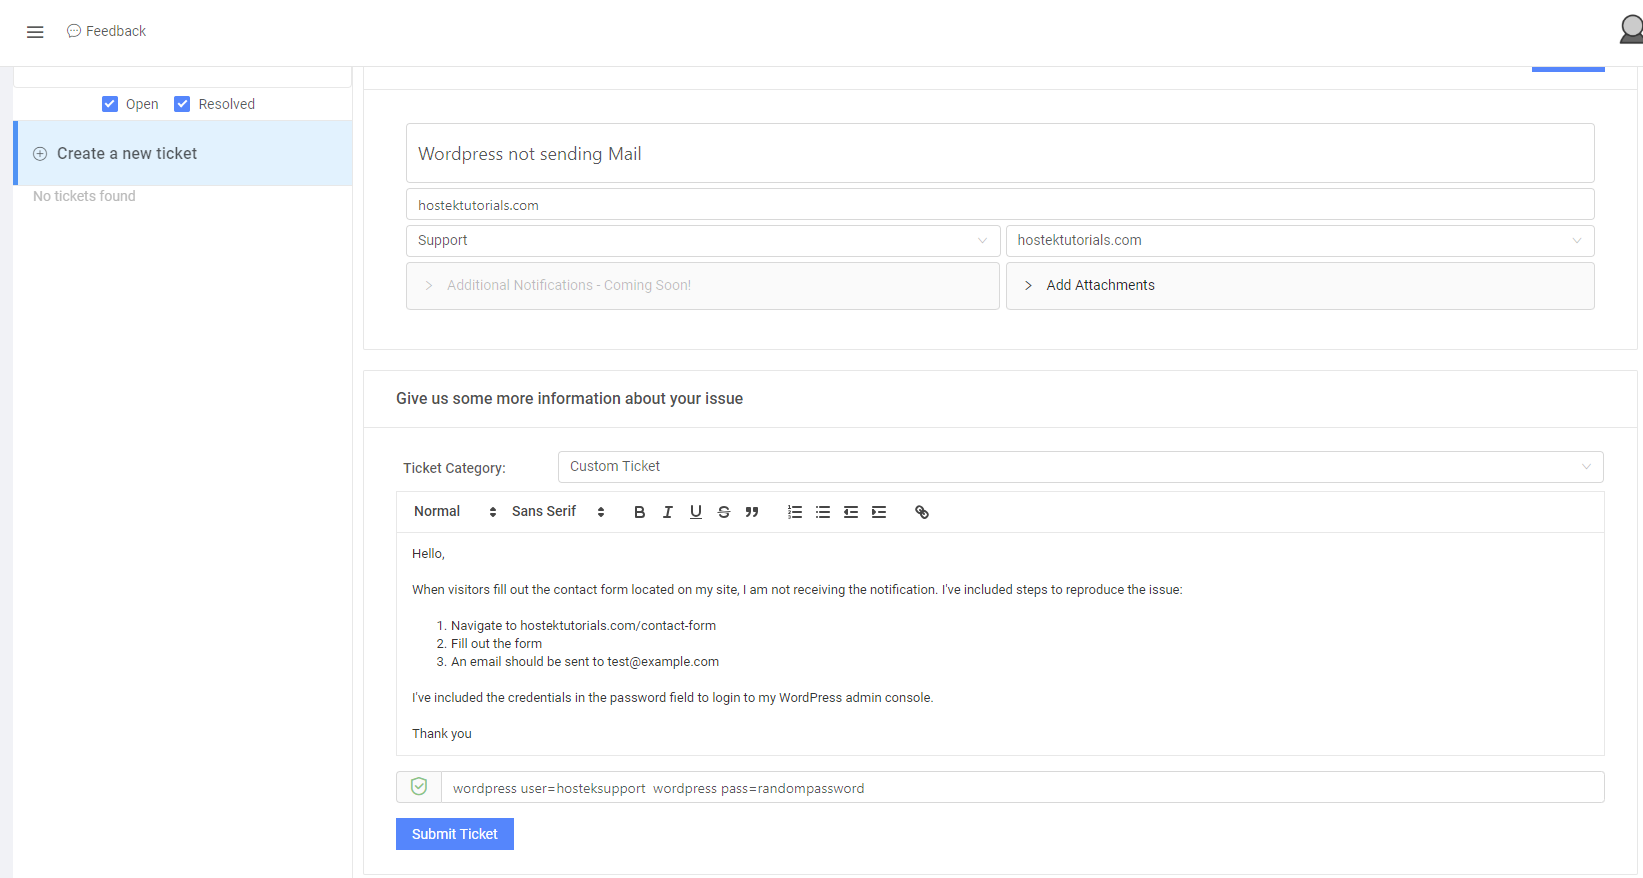
- A form will appear in the right pane of the screen. There are several fields, below we will break each one down:

-
’What is the subject of your issue?’ - Think of this as the title or subject line of your issue. A quick 1 sentence summary of your issue will do here. Please Note: As you type the subject of the issue, you will see a small window appear that provides links to articles that may assist with the issue you are experiencing.
-
’Which domain does this issue relate to?’ - This will be the domain this issue is directly affecting.
-
’Support’ - This is a drop down that will allow you to choose which department this ticket will be routed to. ‘Support’, ‘Sales’, and ‘Billing’ are your choices.
-
’Select Affected Service…’ - This will provide a drop down of the services associated with your account. Select the service that this ticket is regarding.
-
’Add Attachments’ - Here you can drag files to be uploaded into the dotted box, or click the box to bring up upload interface. Please Note: Only .jpeg, .jpg, .png, .txt, .doc, .docx filetypes are accepted and only up to 25MB in size. Unsupported filetypes or sizes to large to upload can be uploaded to a folder outside of your public_html or wwwroot folder and referenced in the ticket.
-
’Ticket Category’ - The ticket category provides different fields that are required to troubleshoot the issue presented. If none of the templates fit your issue, you can select 'Custom Ticket’
-
’Fields Marked with the Green Shield’ - Fields marked with a Green Shield are encrypted and not stored as plain text. This will allow you to share passwords, or sensitive data securely.
-
’Submit Ticket’ Once you have completed the fields click the ‘Submit Ticket’ button to send your ticket to our Support, Billing, or Sales team.
Please Note: When providing details on the issue you are experiencing, providing the steps to replicate
the issue (including credentials if needed) help to expedite the troubleshooting process.
Below you can see an example of a completed ticket.
Replying to Tickets
Once a response from Hostek’s support team has been sent you will see a Needs Attention! label on the ticket listing. Once you click on this. You will see your response and Hostek’s in a chat-like interface (see screenshot below).
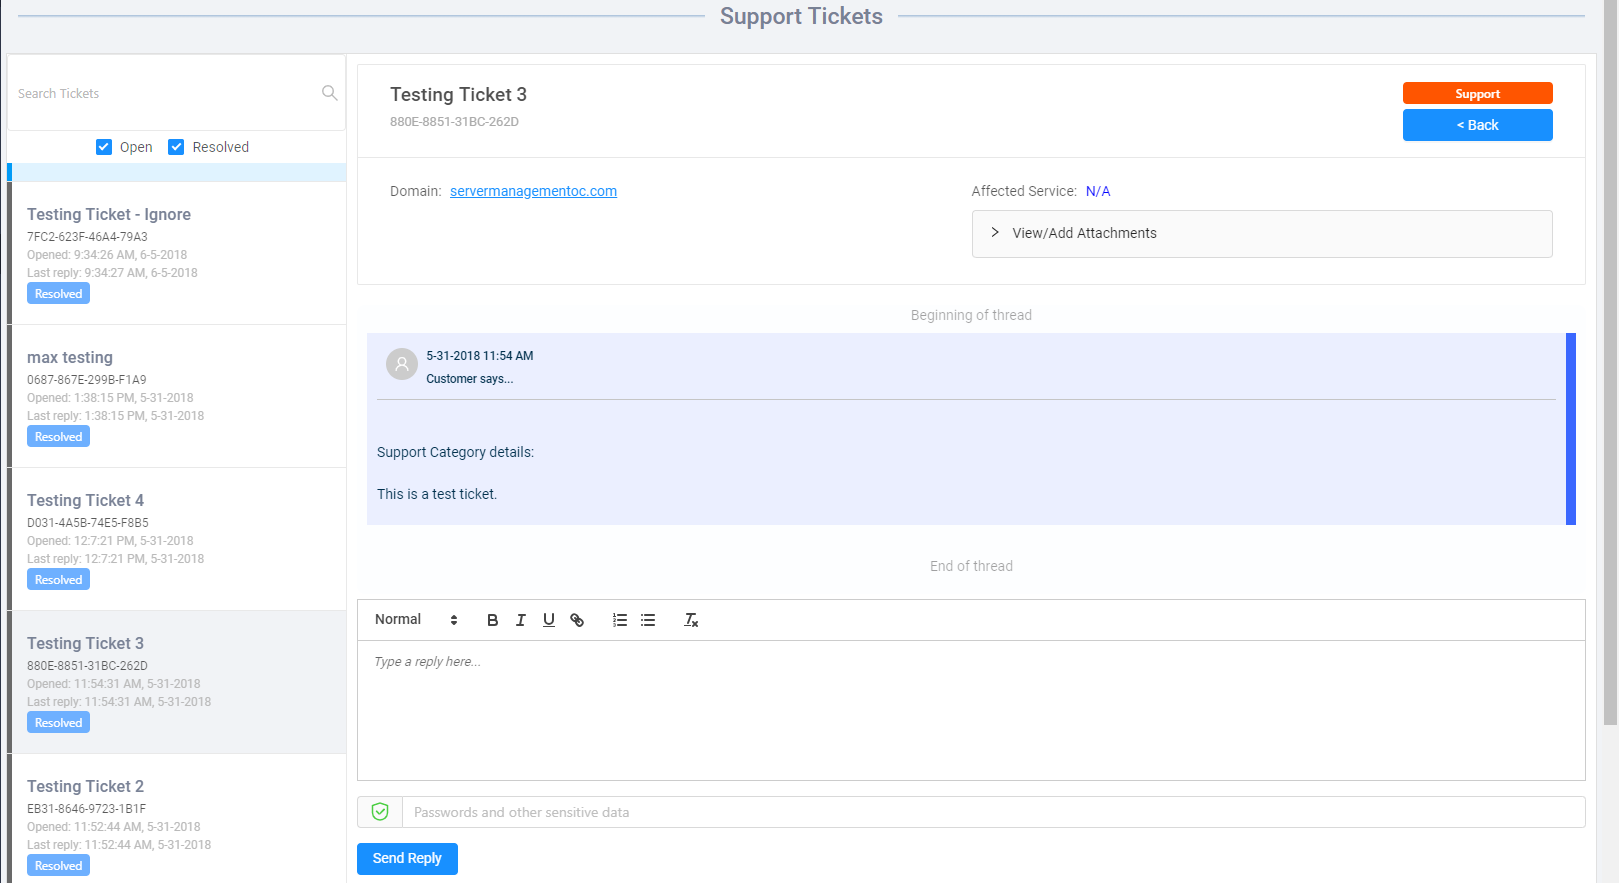
To reply, just click the ticket and type your message in the text editor at the bottom of the page. Once you have completed your reply click ‘Send Reply’.
Closing a Ticket
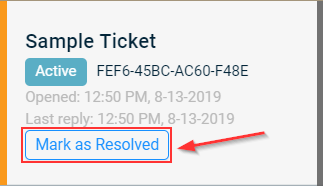
Once an issue or request has been resolved, you can close the ticket out within your dashboard. To do this, click the button labled Mark as Resolved.
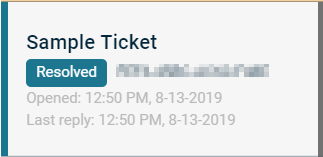
Once this has been clicked the ticket will be updated as Resolved.
Please Note: In some instances when an issue that was resolved in an earlier (closed) ticket, you will want to reopen the ticket. When this happens, a new ticket is opened that references the previous ticket. This is by design, and is meant to ensure there is no confusion of issues or information