The ‘File Restores’ function allows you to restore files and directories from the available backups for your Virtual Dedicated Server/VPS.
File Restores
-
Login to your WCP Control Panel
Note: You can view our topic on logging into WCP if you need help with this step.
-
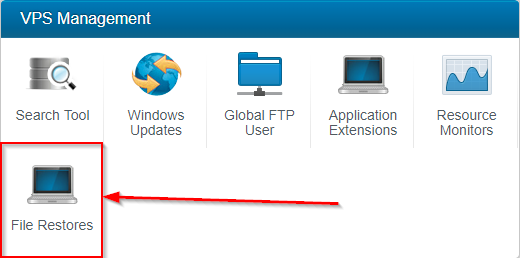
You will then be brought to the Server Manager screen. Click on ‘File Restores’ icon.
Note: If you are logged in but not on this Server Manage page then click the drop-down on the top-right of the page and choose ‘Server Manager’.
-
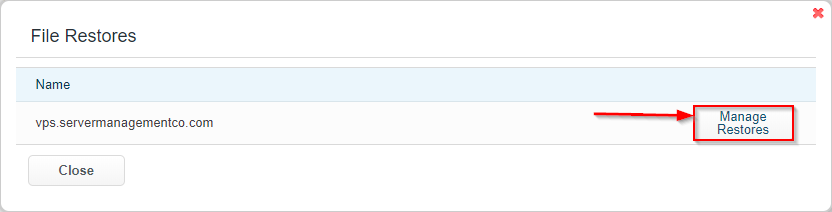
A box will open with a list of all Virtual Dedicated Server/VPS’s associated with this account. Click on the Manage Restores box next to the Dedicated VPS you would like to restore files to.
-
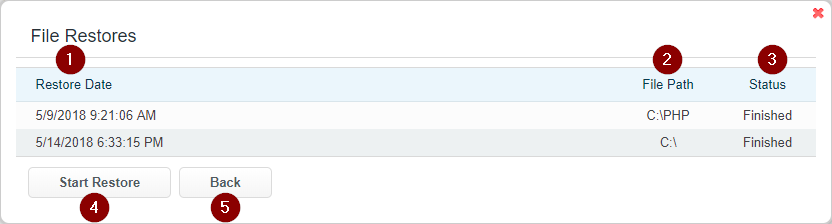
You will be directed to a new box that will provide details about previous restores as well as options to start a new restore process.
- Restore Date: This column will display the date and time of previous restore jobs.
- File Path: This column will display the parent directory of the files or directories that were restored.
- Status: This column will display the current status (finished or running) of restoration jobs.
- Start Restore: Clicking this button will direct you to the backup selection box. This will be covered in Step 5.
-
Back: This button will bring you back to the Dedicated VPS selection box.
-
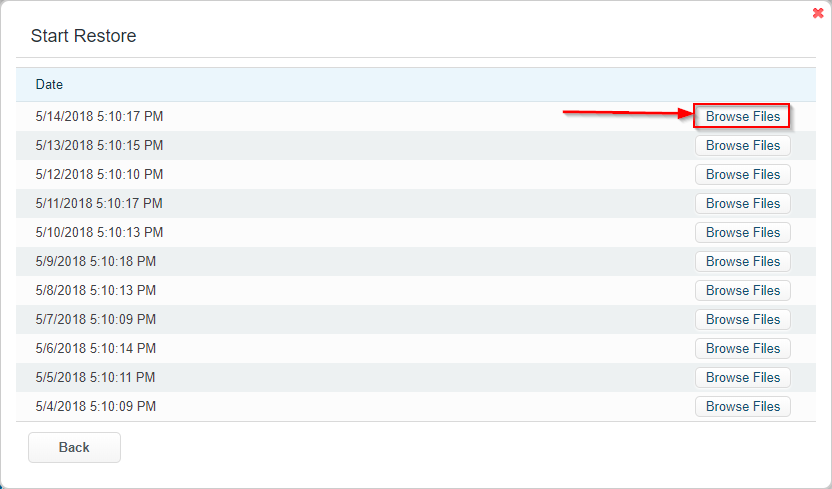
After clicking the ‘Start Restore’ button from step 4 you will now be directed to a list of all the current backups for your Dedicated VPS. The backups will be labeled by the date and time they were completed. Click on the Browse Files button.
-
After clicking the Browse Files button for the date and time you would like to restore from, you will be brought to the file selection box. From this window, you will be able to navigate and select files and directories that you would like to restore.
- Directories: To select a directory to restore, simply click the checkbox next to the directory. To navigate this directory, click the folder icon.
- Files: To select a file to restore, click the checkbox next to the file or files you would like restored.
- Start Restore: Click this button will start the restoration job and you will be directed back to the file restore manager for this Dedicated VPS.
-
Back: This button will bring you back to the file restore manager for this Dedicated VPS without performing a restore.
-
Once back to the file restore manager, if you have started a restore you will see a new listing with a status of Running. Once this has completed the status will show Finished. Your files are now restored to the date/time that you selected in the previous steps.
Note: This status will reflect the status of the current job upon the opening of the file restore manager.