In this topic, we’ll be discussing how to manage your domain registration(s) name servers via the billing control panel.
The name servers set for the domain control what servers host your domains resource records, which consist of your typical A Records, CNAME Records, MX Records, etc… that dictate what server IP Address your site, mail, and other services reside.
If you are trying to determine what name servers your site should point to… then you can refer to the account information welcome e-mail for the hosting package you signed up with. This hosting package should contain this necessary set of name servers that your domain should resolve to in order to be live with our services.
If hosting your sites DNS elsewhere you will need to obtain this information from that third-party prior to following the steps below.
You can view our steps below on managing what name servers your domain(s) point to below.
Manage Domain Name Servers
-
You will first need to login to the billing control panel: The URL to the billing control panel can be found below:
U.S. Billing Account: https://cp.hostek.com
U.K. Billing Account: https://cp.hostek.co.uk
If needed you can view the topics for logging into the billing area or recovering the password to the billing area.
-
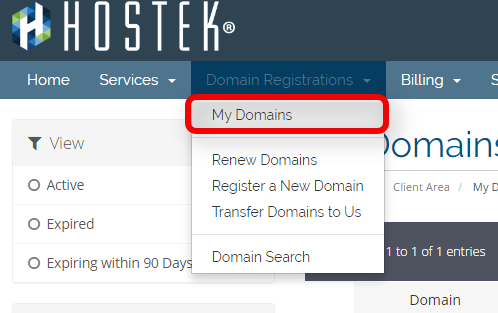
In the top-navigation menu click on ‘Domain Registrations’, then click on ‘My Domains’.
-
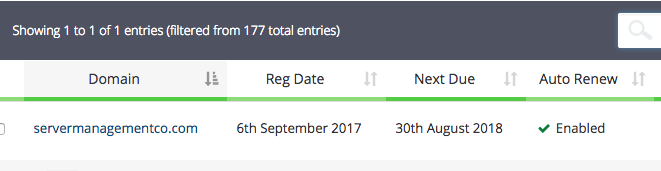
You should now see a list of your active, canceled, and expired domains that you’ve had in your account as shown in the screenshot below:
-
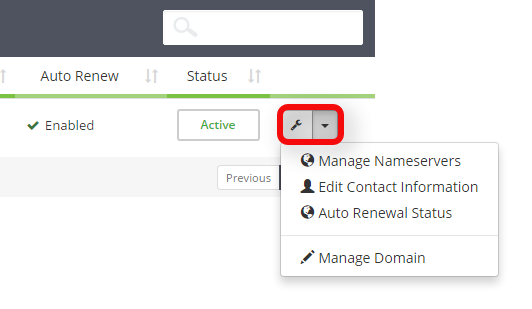
To the right of the domain you wish to manage click the wrench icon or select the drop-down and choose ‘Manage Domain’.
Note: You can also click on ‘Manage Nameservers’ if desired. If you do so, skip to step 6.
-
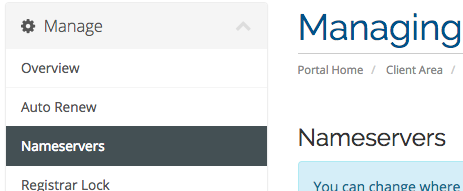
You will now be in the management portal for the domain in question. You will see a menu bar on the left side of the page with all the available options to manage for a domain. Click on the menu item labeled ‘Nameservers’.
-
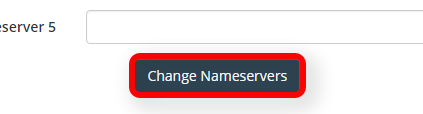
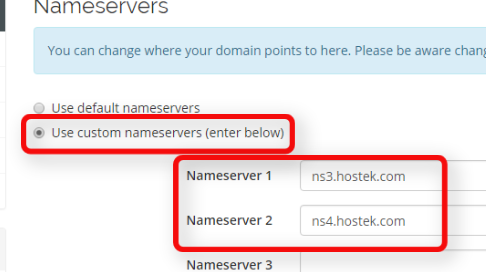
You can now select the radio button for ‘Use custom nameservers (enter below)’ and then enter in each name server you wish the domain to point to.
Note: If you do not select the ‘Use custom nameservers’ radio button then when you save your name servers it will default back to the default name servers we have setup.
-
Once you enter in the new pair of name servers you want the domain to point to then you can save your changes by clicking on ‘Save Nameservers’ as shown in the screenshot below.