The ‘List Domains’ function allows you to manage and modify many settings for your individual domains.
List Domain
-
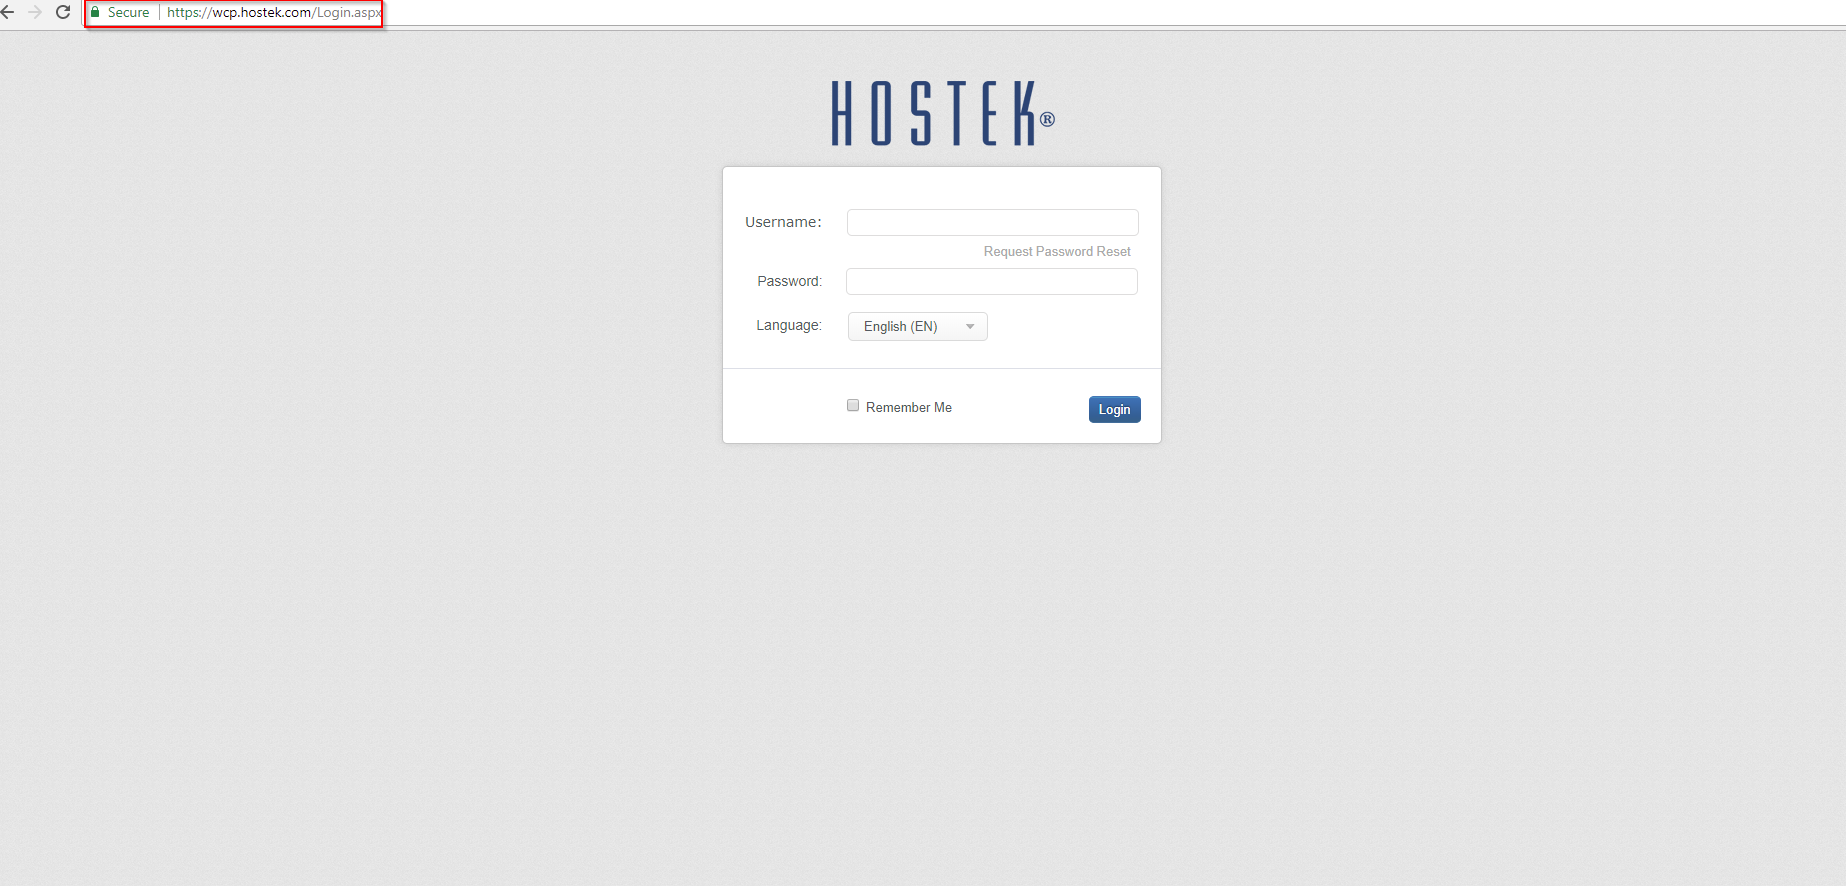
Login to your WCP Control Panel
Note: You can view our topic on logging into WCP if you need help with this step.
-
You will then be brought to the Server Manager screen. Click on ‘List Domains’.
Note: If you are logged in but not on this Server Manage page then click the drop-down on the top-right of the page and choose ‘Server Manager’.
-
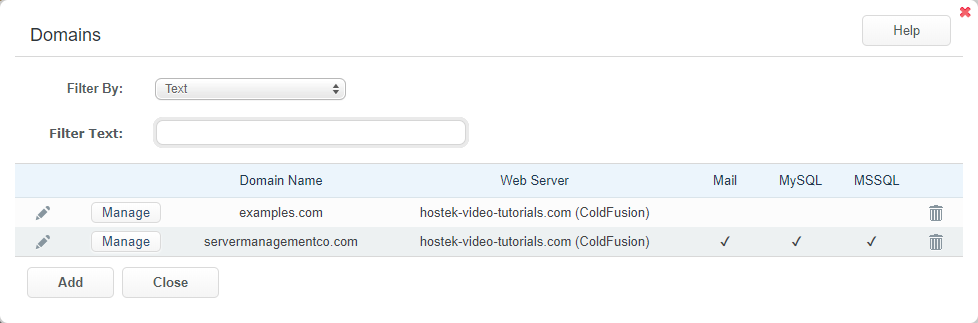
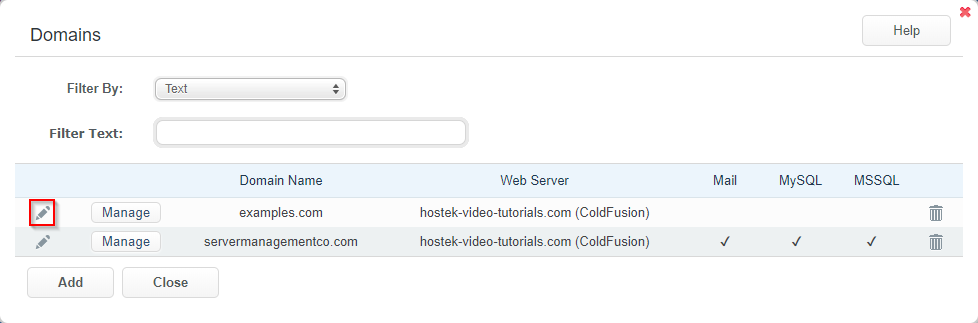
You will then be presented with the main screen of the List Domains function. We will be going over each of the areas in the sections below.

Filtering Domains within List Domains
You can filter domains by certain criteria by clicking the ‘Filter By:’ drop down menu. You will be presented with several options to filter by.
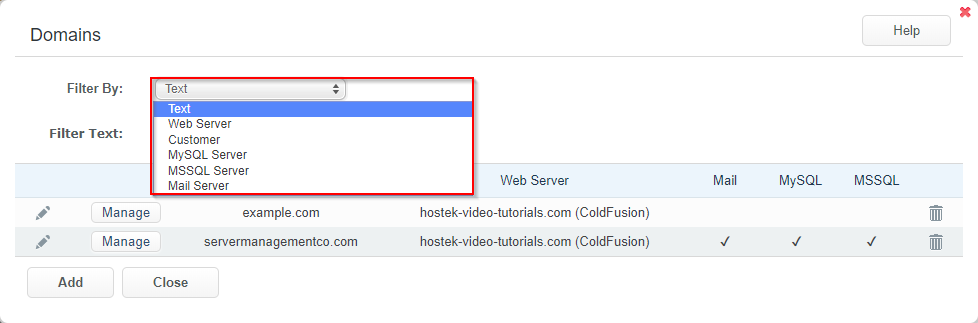
- Text - Filter the domains by any text visible on the table by entering text into the Filter Text: field.
- Web Server - Filter domains by what Web Server they are currently hosted on. The Web Server drop down will allow you to specify the Web Server.
- Customer - Filter domains by which customer the domain is attached to. The Customer drop down will allow you to specify the customer.
- MySQL Server - Filter domains by which server each domains MySQL databases are hosted. The MySQL Servers: drop down will allow you to specify the MySQL server.
- MSSQL Server - Filter domains by which server each domains MSSQL databases are hosted. The MSSQL Servers: drop down will allow you to specify the MSSQL server.
- Mail Server - Filter domains by which server each domains Mail Service is hosted. The Mail Servers: drop down will allow you to specify the mail server.
Editing a Domain within List Domains
- To edit a domain within the List Domain box, click the ‘Pencil’ icon.
-
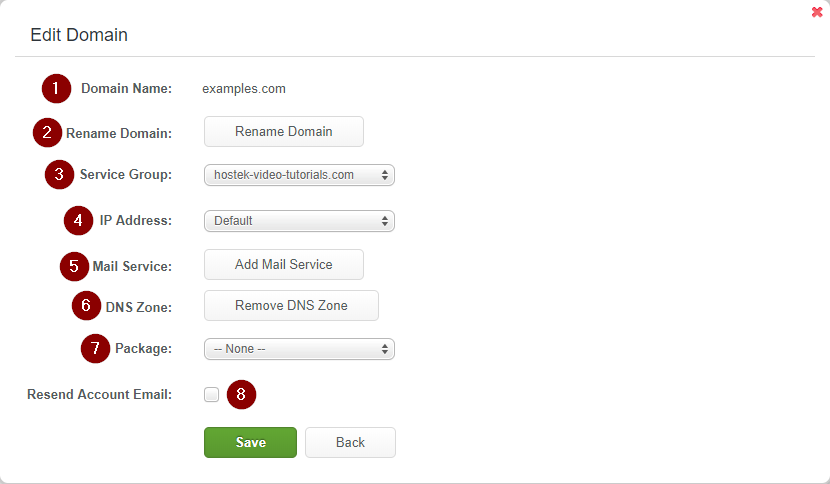
You will n be presented with a box containing configuration settings for this domain.
-
Domain Name: - This will display the domain name you are currently editing.
-
Rename Domain - Clicking this will bring up a new window that will allow you to rename the domain. You will just enter the new domain and click Save.
-
Service Group - You can change the Service Group assigned to this domain. Additional information about service groups can be found here.
-
IP Address - If there are additional available IP addresses available on the server you can assign this to a domain here.
-
Mail Service - Depending on current mail status either Add Mail Service or Remove Mail Service button will be present. This will either add or remove mail services for this domain.
-
DNS Zone - Depending on current DNS zone file availablity either Add DNS Zone or Remove DNS Zone button will be present. This will either add or remove the dns zone file for this domain.
-
Package - You can change the package assigned to this domain. Additional information about packages can be found here.
-
Resend Account Email - Checking this checkbox and clicking save will send the domain information email to the customer this domain is attached to.
Manage Domain
You can access the WCP console for individual domains by clicking on the ‘Manage’ button. View additional articles about available functions here.

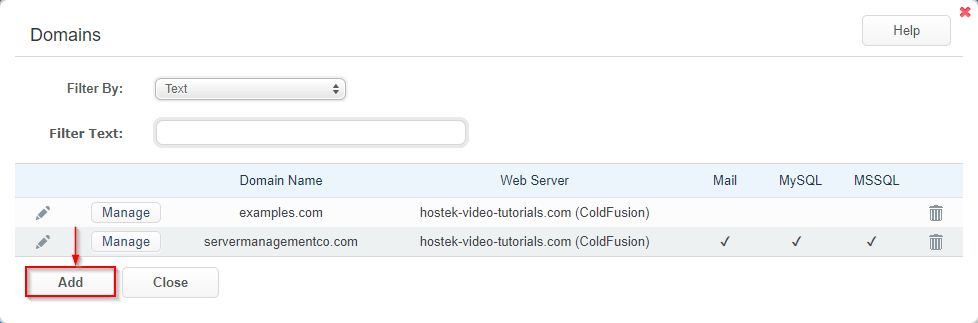
Add Domain
You can add a domain from the List Domain window. Click on the Add button to add a domain. You can find additional information on adding a domain here.
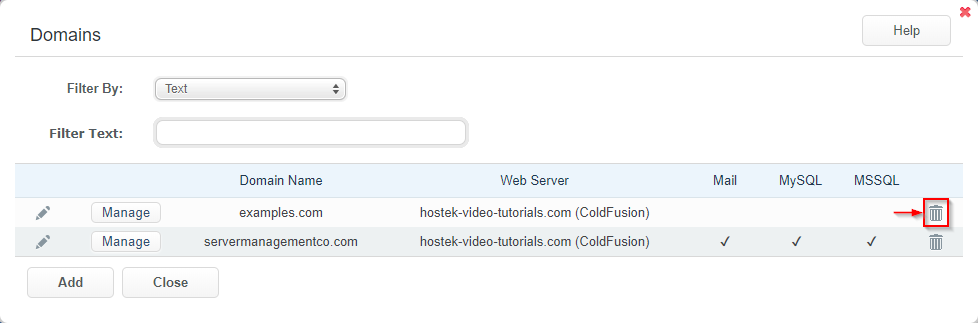
Delete Domains
You can delete a domain by clicking on the Trashcan icon.