Access Control Settings
The access control settings will allow you granular control over who, where, and what is able to access your site.
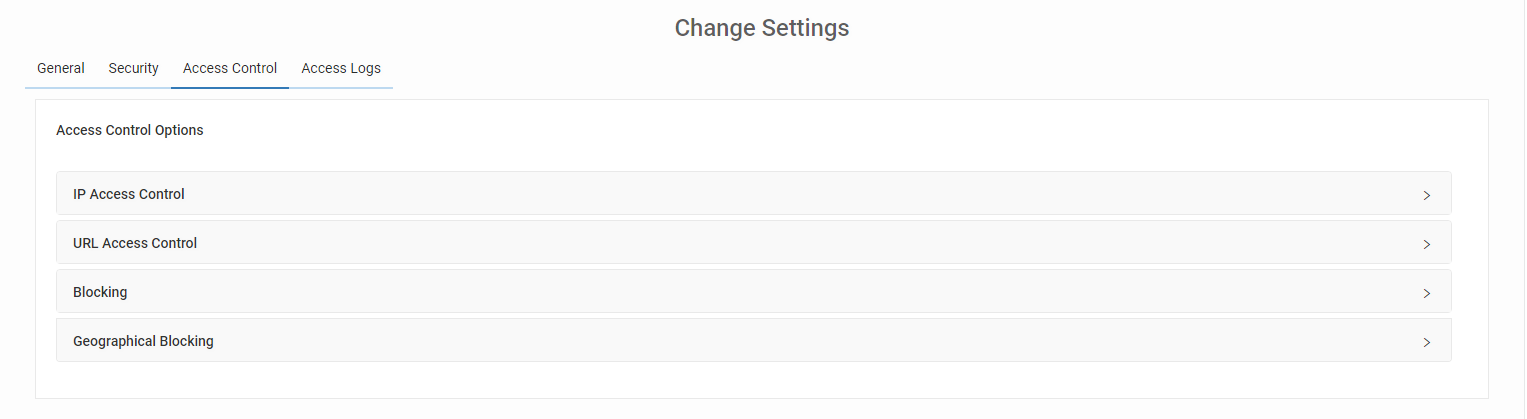
IP Access Control
The IP Access Control box provides a way to easily blacklist and whitelist IP addresses.
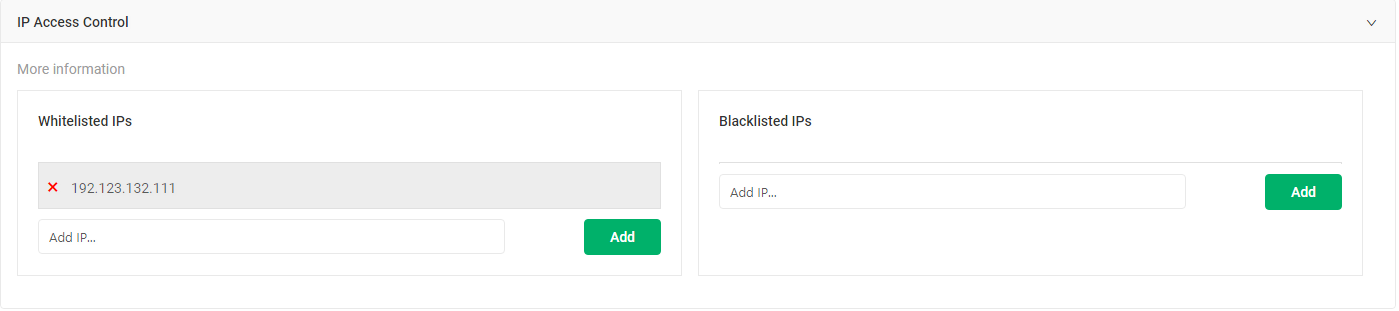
Whitelisted IPs - To add a whitelisted IP input the IP in the field under the Whitelisted IPs heading lableled Add IP…. Once the IP address has been entered in the field click the ‘Add’ button. Whitelisted IPs will appear above the input box. To remove a Whitelisted IP click the red X next to the IP address.
Blacklisted IPs - To blacklist an IP input the IP in the field under the Blacklisted IPs heading lableled Add IP…. Once the IP address has been entered in the field click the ‘Add’ button. Blacklisted IPs will appear above the input box. To remove a Blacklisted IP click the red X next to the IP address.
Geographical Blocking
The Geographical Blocking area allows you to limit how users from specific countries can interact with your site. You can block from viewing, or just block from any post requests.
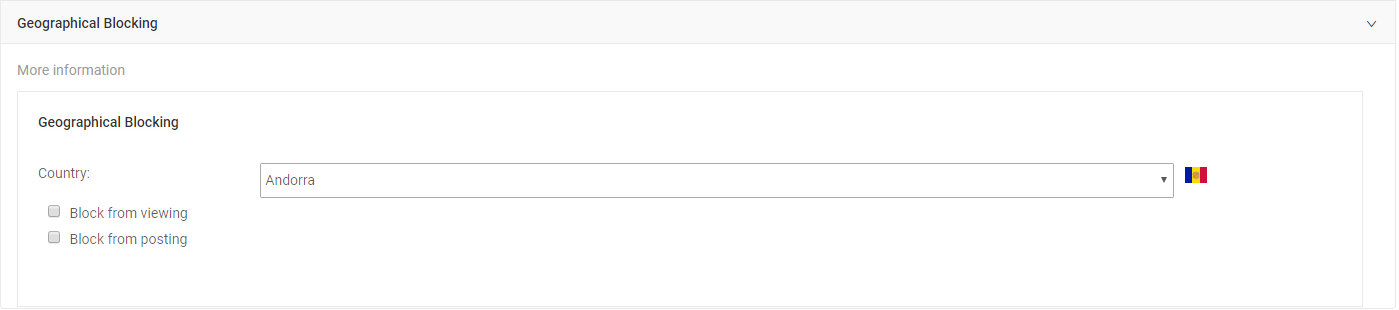
To modify a setting for a country, click the drop-down menu to the right of the Country heading and select the country you would like to restrict. Once the country is selected, select the check box below the field for the restriction you would like to place on users from the specified country.
- ’Block from viewing’ - This setting will block GET requests. This would still allow POST requests to your site.
- ’Block from posting’ - This setting will block POST requests. This will still allow GET requests to your site.
Please Note: If you would like to block all access to a site from a specific country, check both options.
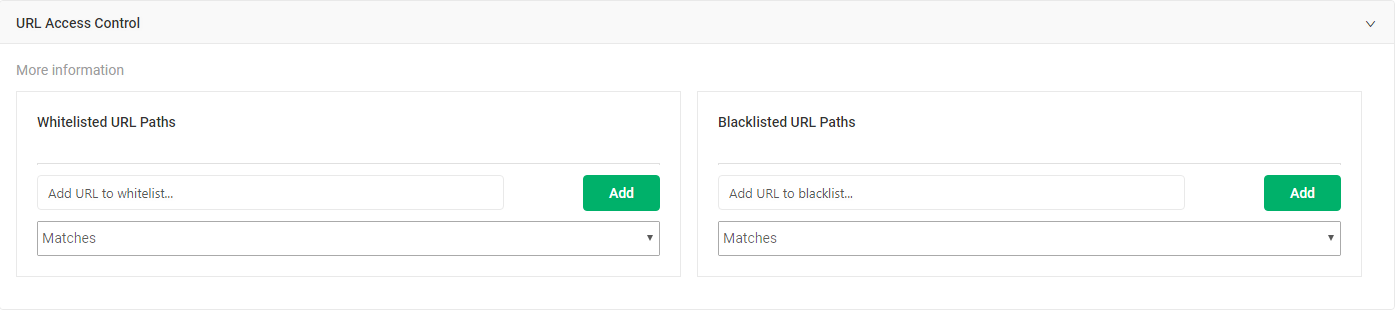
URL Access Control
Within the URL Access Control box you can set URL’s to be Whitelisted or Blacklisted. Both fields have filtering options that can be set by the drop down below the URL input field.
- ’Matches’ - The URL must match part of all of the input
- ’Begins with’ - The URL must begins with the input
- ’Ends with’ - The URL must end with the input
- ’Equals’ - The URL must exactly match the input
-
Whitelisted URL Paths - In some cases it may be necessary to whitelist a url path. This will exempt the specified url path from being blocked to the public by the Web Application Firewall. To whitelist a URL path enter the URL path you would like to white list into the input box under the Whitelisted URL Paths heading, select the appropriate filter below, and click the ‘Add button’. All currently whitelisted URL paths will be listed above the input box.
-
Blacklisted URL Paths - In some cases it may be necessary to blacklist a url path. This will prevent the specified url path from being accessed by the public (whitlisted IP’s will still be able to view this page). To blacklist a URL path enter the URL path you would like to blacklist into the input box under the Blacklisted URL Paths heading, select the appropriate filter below, and click the ‘Add button’. All currently blacklisted URL paths will be listed above the input box.
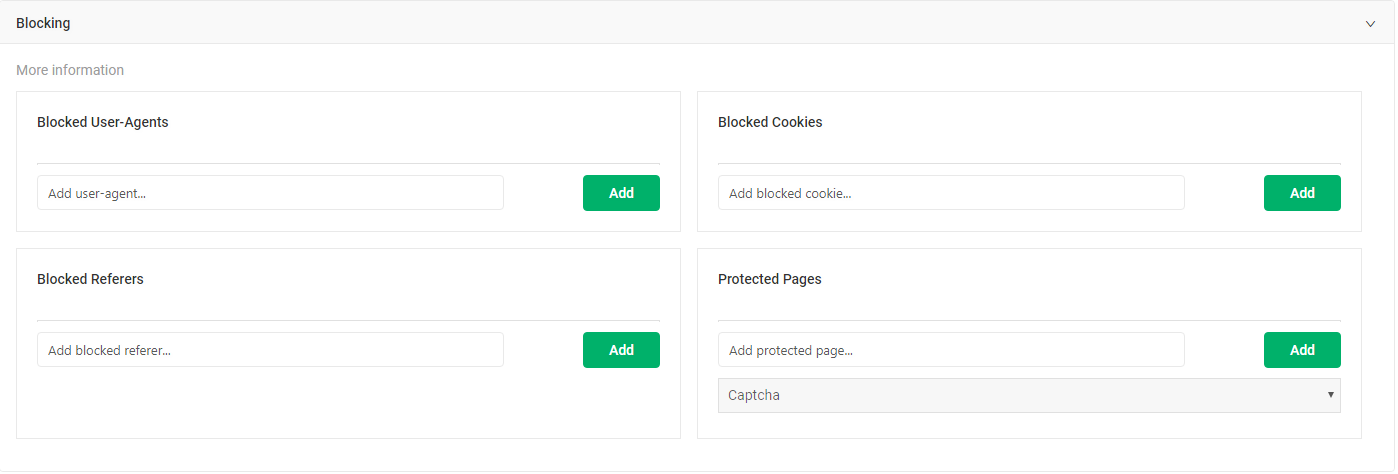
Blocking
The Blocking box, provides a method to block various elements from accessing your application or specific pages.
-
Blocked User-Agents - One way to block unwanted users is to block specific user-agents. A “user-agent” is a software agent acting on behalf of a user. The format of the user-agent string in HTTP is a list of keywords with optional comments. To block a user-agent input the user-agent keyword into the input field under the Blocked User-Agents heading, then click the Add button. A list of blocked user-agents will be listed above the input field.
-
Blocked Cookies - To block HTTP cookies, enter the cookie you would like to block in the input field under the Blocked Cookies heading and click the Add button. Blocked cookies will be listed above the input field.
-
Blocked Referers - Another way to block unwanted users is to block their referer. A referer is an HTTP header that identifies the address of the webpage that is linked to the resource being requested. To block a referer input the referer you would like to block in the input field located under the Blocked Referer heading and click the Add button. Blocked referers will be listed above the input field.
-
Protected Pages - You can limit access to a specific page by inputting the url path (for example /wp-login.php) into the input field beneath the Protected Pages heading. After you have entered the url path select the protection type (see below for descriptions of methods) you would like added to this page, then click the Add button. Protected pages will be listed above the input field.
- Captcha - This will add a captcha page before redirecting to the protected page.
- IP Restriction - This will allow only IP’s that are on the Whitelisted IPs list to access the site.